文章出自GitHub :alsotang 的 https://github.com/alsotang/node-lessons 感谢大神
注意,cnodejs.org 网站有并发连接数的限制,所以当请求发送太快的时候会导致返回值为空或报错。建议一次抓取3个主题即可。文中的40只是为了方便讲解
这一章我们来到了 Node.js 最牛逼的地方——异步并发的内容了。
上一课我们介绍了如何使用 superagent 和 cheerio 来取主页内容,那只需要发起一次 http get 请求就能办到。但这次,我们需要取出每个主题的第一条评论,这就要求我们对每个主题的链接发起请求,并用 cheerio 去取出其中的第一条评论。
CNode 目前每一页有 40 个主题,于是我们就需要发起 1 + 40 个请求,来达到我们这一课的目标。
后者的 40 个请求,我们并发地发起:),而且不会遇到多线程啊锁什么的,Node.js 的并发模型跟多线程不同,抛却那些观念。更具体一点的话,比如异步到底为何异步,Node.js 为何单线程却能并发这类走近科学的问题,我就不打算讲了。对于这方面有兴趣的同学,强烈推荐 @朴灵 的 《九浅一深Node.js》: http://book.douban.com/subject/25768396/ 。
有些逼格比较高的朋友可能听说过 promise 和 generator 这类概念。不过我呢,只会讲 callback,主要原因是我个人只喜欢 callback。
这次课程我们需要用到三个库:superagent cheerio eventproxy(https://github.com/JacksonTian/eventproxy )
手脚架的工作各位自己来,我们一步一步来一起写出这个程序。
首先 app.js 应该长这样
var eventproxy = require('eventproxy');
var superagent = require('superagent');
var cheerio = require('cheerio');
// url 模块是 Node.js 标准库里面的
// http://nodejs.org/api/url.html
var url = require('url');
var cnodeUrl = 'https://cnodejs.org/';
superagent.get(cnodeUrl)
.end(function (err, res) {
if (err) {
return console.error(err);
}
var topicUrls = [];
var $ = cheerio.load(res.text);
// 获取首页所有的链接
$('#topic_list .topic_title').each(function (idx, element) {
var $element = $(element);
// $element.attr('href') 本来的样子是 /topic/542acd7d5d28233425538b04
// 我们用 url.resolve 来自动推断出完整 url,变成
// https://cnodejs.org/topic/542acd7d5d28233425538b04 的形式
// 具体请看 http://nodejs.org/api/url.html#url_url_resolve_from_to 的示例
var href = url.resolve(cnodeUrl, $element.attr('href'));
topicUrls.push(href);
});
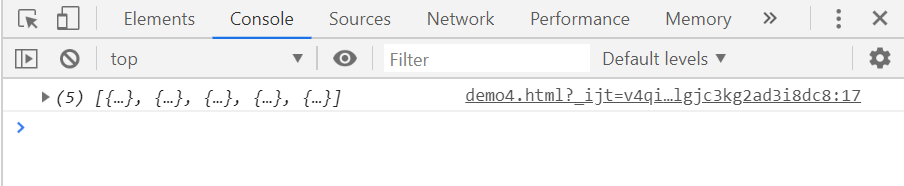
console.log(topicUrls);
});
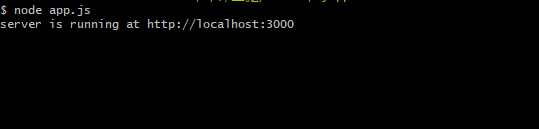
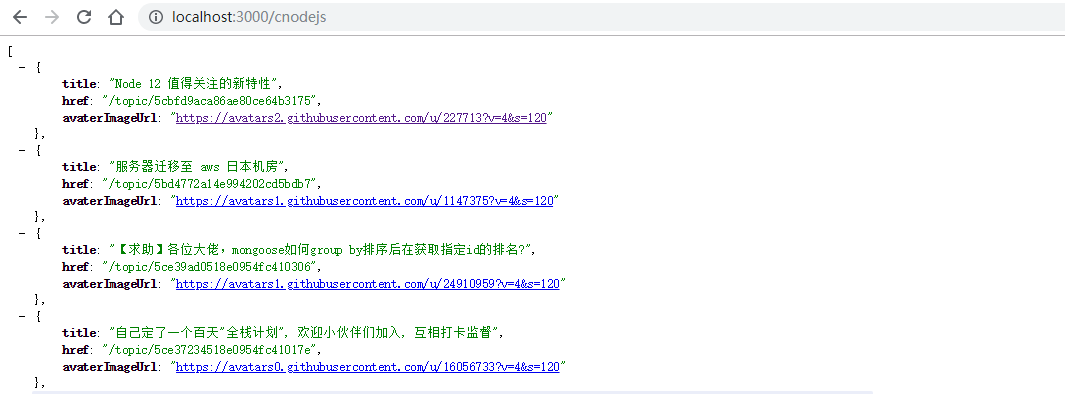
运行 node app.js
输出如下图:
OK,这时候我们已经得到所有 url 的地址了,接下来,我们把这些地址都抓取一遍,就完成了,Node.js 就是这么简单。
抓取之前,还是得介绍一下 eventproxy 这个库。
用 js 写过异步的同学应该都知道,如果你要并发异步获取两三个地址的数据,并且要在获取到数据之后,对这些数据一起进行利用的话,常规的写法是自己维护一个计数器。
先定义一个 var count = 0,然后每次抓取成功以后,就count++。如果你是要抓取三个源的数据,由于你根本不知道这些异步操作到底谁先完成,那么每次当抓取成功的时候,就判断一下 count === 3。当值为真时,使用另一个函数继续完成操作。
而 eventproxy 就起到了这个计数器的作用,它来帮你管理到底这些异步操作是否完成,完成之后,它会自动调用你提供的处理函数,并将抓取到的数据当参数传过来。
假设我们不使用 eventproxy 也不使用计数器时,抓取三个源的写法是这样的:
// 参考 jquery 的 $.get 的方法
$.get("http://data1_source", function (data1) {
  // something
  $.get("http://data2_source", function (data2) {
    // something
    $.get("http://data3_source", function (data3) {
      // something
      var html = fuck(data1, data2, data3);
      render(html);
    });
  });
});
上述的代码大家都写过吧。先获取 data1,获取完成之后获取 data2,然后再获取 data3,然后 fuck 它们,进行输出。
但大家应该也想到了,其实这三个源的数据,是可以并行去获取的,data2 的获取并不依赖 data1 的完成,data3 同理也不依赖 data2。
于是我们用计数器来写,会写成这样:
(function () {
  var count = 0;
  var result = {};

  $.get('http://data1_source', function (data) {
    result.data1 = data;
    count++;
    handle();
    });
  $.get('http://data2_source', function (data) {
    result.data2 = data;
    count++;
    handle();
    });
  $.get('http://data3_source', function (data) {
    result.data3 = data;
    count++;
    handle();
    });

  function handle() {
    if (count === 3) {
      var html = fuck(result.data1, result.data2, result.data3);
      render(html);
    }
  }
})();
如果我们用 eventproxy,写出来是这样的:
var ep = new eventproxy();
ep.all('data1_event', 'data2_event', 'data3_event', function (data1, data2, data3) {
  var html = fuck(data1, data2, data3);
  render(html);
});

$.get('http://data1_source', function (data) {
  ep.emit('data1_event', data);
  });

$.get('http://data2_source', function (data) {
  ep.emit('data2_event', data);
  });

$.get('http://data3_source', function (data) {
  ep.emit('data3_event', data);
  });
好看多了是吧,也就是个高等计数器嘛。
ep.all('data1_event', 'data2_event', 'data3_event', function (data1, data2, data3) {});
这一句,监听了三个事件,分别是 data1_event, data2_event, data3_event,每次当一个源的数据抓取完成时,就通过 ep.emit()来告诉 ep 自己,某某事件已经完成了。
当三个事件未同时完成时,ep.emit()调用之后不会做任何事;当三个事件都完成的时候,就会调用末尾的那个回调函数,来对它们进行统一处理。
eventproxy 提供了不少其他场景所需的 API,但最最常用的用法就是以上的这种,即:
先 var ep = new eventproxy(); 得到一个 eventproxy实例。
告诉它你要监听哪些事件,并给它一个回调函数。ep.all('event1', 'event2', function (result1, result2) {})。
在适当的时候 ep.emit('event_name', eventData)
至于这套思想糟糕不糟糕,我个人倒是觉得还是不糟糕,用熟了看起来蛮清晰的。不过 js 这门渣渣语言本来就乱嘛,什么变量提升(http://www.cnblogs.com/damonlan/archive/2012/07/01/2553425.html )啊,没有 main 函数啊,变量作用域啊,数据类型常常简单得只有数字、字符串、哈希、数组啊,这一系列的问题,都不是事儿。
编程语言美丑啥的,咱心中有佛就好。
回到正题,之前我们已经得到了一个长度为 40 的 topicUrls 数组,里面包含了每条主题的链接。那么意味着,我们接下来要发出 40 个并发请求。我们需要用到 eventproxy 的 #after API。
大家自行学习一下这个 API 吧:
https://github.com/JacksonTian/eventproxy#%E9%87%8D%E5%A4%8D%E5%BC%82%E6%AD%A5%E5%8D%8F%E4%BD%9C
// 得到 topicUrls 之后
// 得到一个 eventproxy 的实例
var ep = new eventproxy();
// 命令 ep 重复监听 topicUrls.length 次(在这里也就是 40 次) `topic_html` 事件再行动
ep.after('topic_html', topicUrls.length, function (topics) {
// topics 是个数组,包含了 40 次 ep.emit('topic_html', pair) 中的那 40 个 pair
// 开始行动
topics = topics.map(function (topicPair) {
// 接下来都是 jquery 的用法了
var topicUrl = topicPair[0];
var topicHtml = topicPair[1];
var $ = cheerio.load(topicHtml);
return ({
title: $('.topic_full_title').text().trim(),
href: topicUrl,
comment1: $('.reply_content').eq(0).text().trim(),
});
});
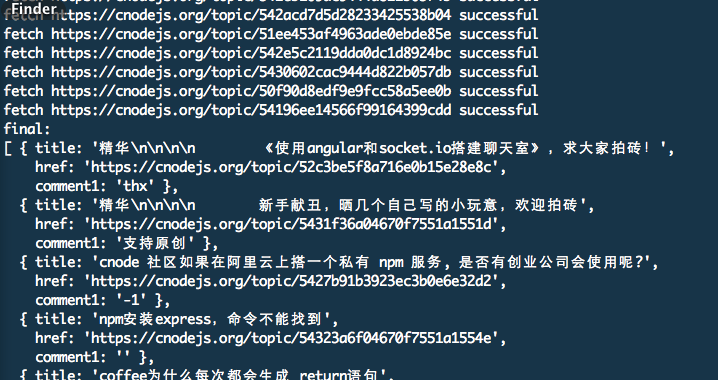
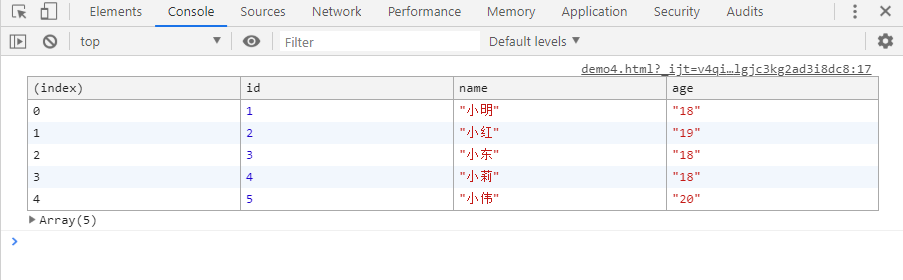
console.log('final:');
console.log(topics);
});
topicUrls.forEach(function (topicUrl) {
superagent.get(topicUrl)
.end(function (err, res) {
console.log('fetch ' + topicUrl + ' successful');
ep.emit('topic_html', [topicUrl, res.text]);
});
});
输出长这样:
完整代码:
var router = require('express').Router()
var eventproxy = require('eventproxy');
var superagent = require('superagent');
var cheerio = require('cheerio');
var url = require('url');

var cnodeUrl = 'https://cnodejs.org/';

superagent.get(cnodeUrl)
    .end(function (err, res) {
        if (err) {
            return console.error(err);
        }
        var topicUrls = [];
        var $ = cheerio.load(res.text);
        $('#topic_list .topic_title').each(function (idx, element) {
            var $element = $(element);
            var href = url.resolve(cnodeUrl, $element.attr('href'));
            topicUrls.push(href);
        });

        var ep = new eventproxy();

        ep.after('topic_html', topicUrls.length, function (topics) {
            topics = topics.map(function (topicPair) {
                var topicUrl = topicPair[0];
                var topicHtml = topicPair[1];
                var $ = cheerio.load(topicHtml);
                return ({
                    title: $('.topic_full_title').text().trim(),
                    href: topicUrl,
                    comment1: $('.reply_content').eq(0).text().trim(),
                    author1: $('.user_card .user_name a').text().trim(),
                    score1: $('.user_card .floor .big').text().trim(),
                    content: $('.markdown-text p').text().trim(),
                });
            });

            console.log('final:');
            console.log(topics);
        });

        topicUrls.forEach(function (topicUrl) {
            superagent.get(topicUrl)
                .end(function (err, res) {
                    console.log('fetch ' + topicUrl + ' successful');
                    ep.emit('topic_html', [topicUrl, res.text]);
                });
        });
    });